I've become obsessed with travel photography over the past couple of years, always taking my camera whenever I go out. To be honest, the first time I went out with my camera, I was incredibly nervous, afraid of missing every precious moment. I didn't know what settings to use or how to compose shots, and my photos were either overexposed or completely blurry. But after years of trial and error, I've discovered that travel photography isn't as mysterious as it seems. As long as you master some basic principles, even beginners can take stunning photos that will get tons of likes on social media.
Recently, my inbox has been flooded with questions about travel photography, with everyone asking things like "how do I get started," "what equipment should I choose," and "what are some composition techniques." Today, I'll share all the experience I've accumulated over these years, ensuring you avoid common pitfalls and progress quickly.
When it comes to choosing equipment, I'm reminded of my early obsession with gear. Back then, seeing others with full-frame cameras and red-ring lenses made me incredibly envious. I always thought that buying better equipment would immediately improve my photo quality. But after saving up and buying an expensive set, I realized that what limited me was never the equipment, but my aesthetic sense and technical skills.
Looking back now, I don't think beginners need to pursue extremely expensive equipment. APS-C format cameras are absolutely the best choice for beginners. Cameras like the Sony a6400 and Fuji X-T30 offer excellent value for money. I personally use the Sony a6400 with an 18-55mm standard zoom and a 55-210mm telephoto lens, which basically covers all scenarios. This entire setup costs just over 10,000 yuan, and it's particularly light, making it easy to carry around.
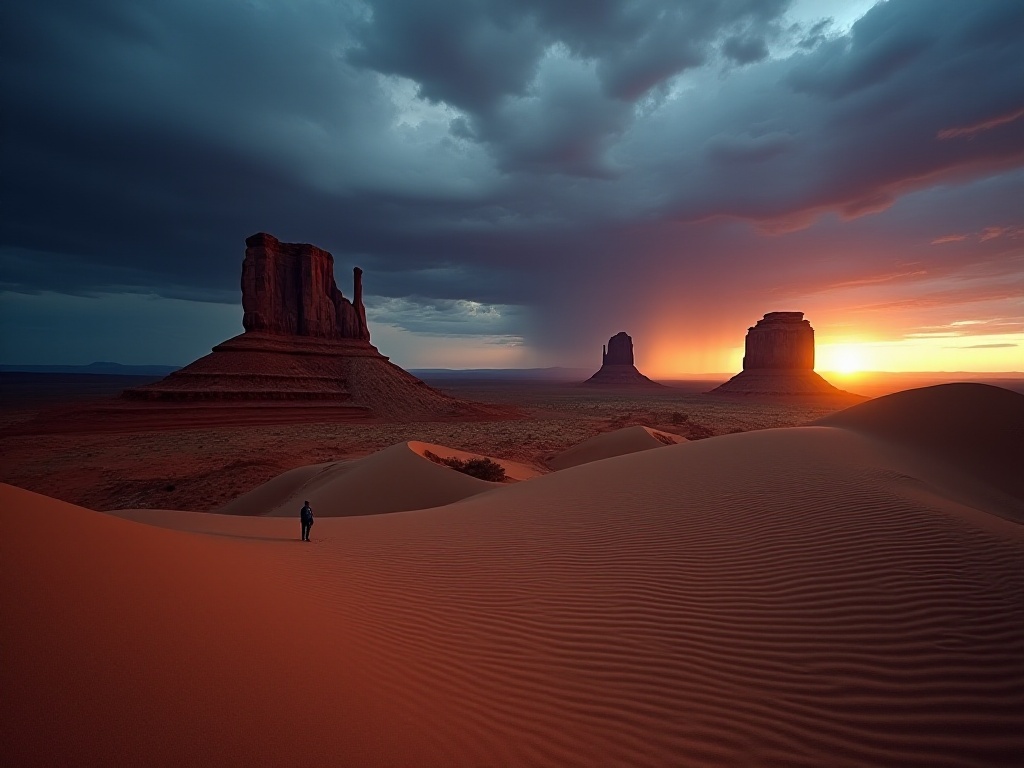
When it comes to preparation, this is truly crucial. I remember once at Qinghai Lake, I missed the best shooting opportunity simply because I hadn't prepared thoroughly enough. Since then, I've placed special emphasis on pre-shoot homework.
The first step is gathering information about the shooting location. Besides checking regular travel guides, I particularly enjoy browsing Xiaohongshu and Instagram. On these platforms, you can find many local photographers sharing their work, often marking specific shooting locations and times. Through their experience, you can discover many excellent shooting positions that you won't find in tourist guides.
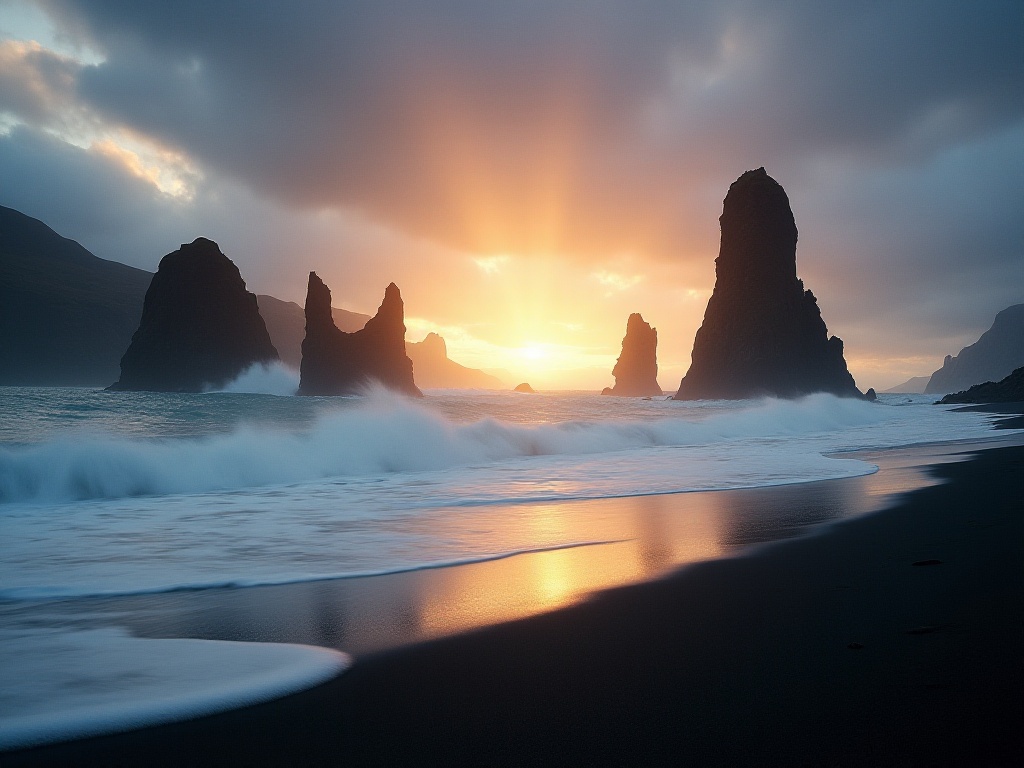
When it comes to shooting techniques, this is truly a broad topic. Different scenes require different shooting methods, so I'll focus on the most common situations.
Shooting in cities presents the biggest challenge of dealing with too many tourists. Especially at famous landmarks, getting a photo without people is extremely difficult. This is where long exposure techniques come in handy. Here's how to do it: first, mount your camera on a tripod, then attach an ND filter. I usually use ND64 or ND1000, choosing based on the current light intensity. Then set the shutter speed to 20-30 seconds and stop down the aperture to around f/8 for good depth of field. In the resulting photos, moving people will become transparent, leaving only the static buildings.
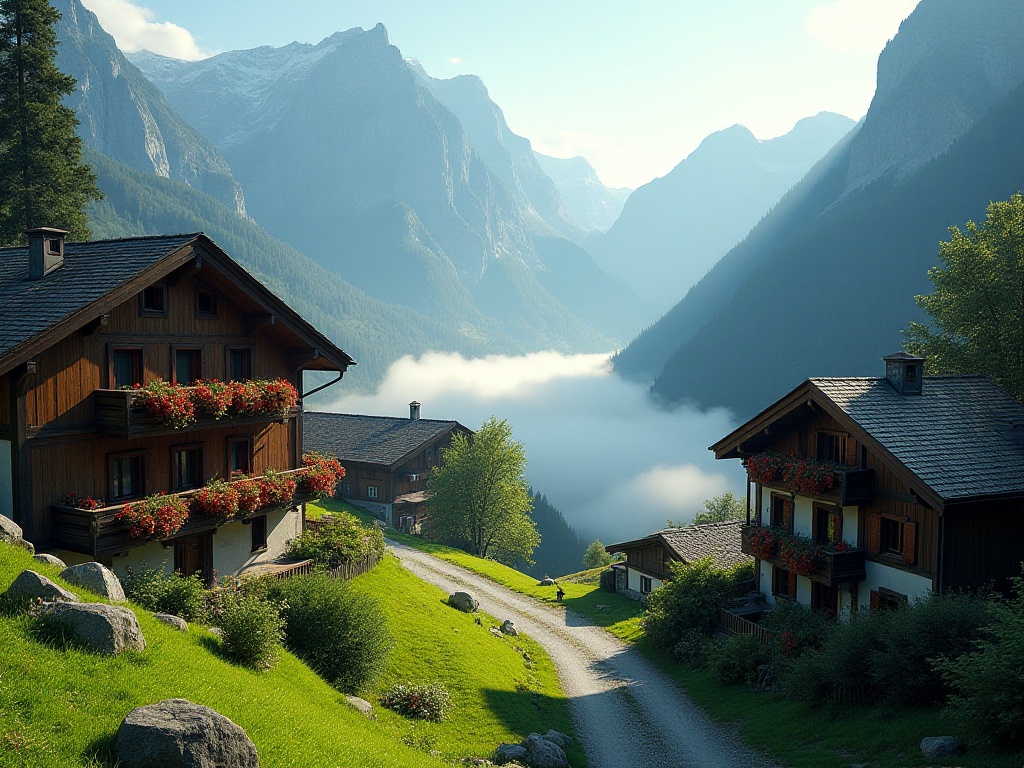
Many people think post-processing is particularly difficult, but actually mastering a few basic adjustment methods is sufficient. My advice is not to over-process; maintaining the photo's natural feel is most important.
First is white balance adjustment. This is the most basic and important step. Different light sources will result in different color temperatures in photos, and if the white balance isn't adjusted properly, the entire photo's color tone will look strange. I usually shoot with auto white balance first, then fine-tune in post-processing based on the actual effect.
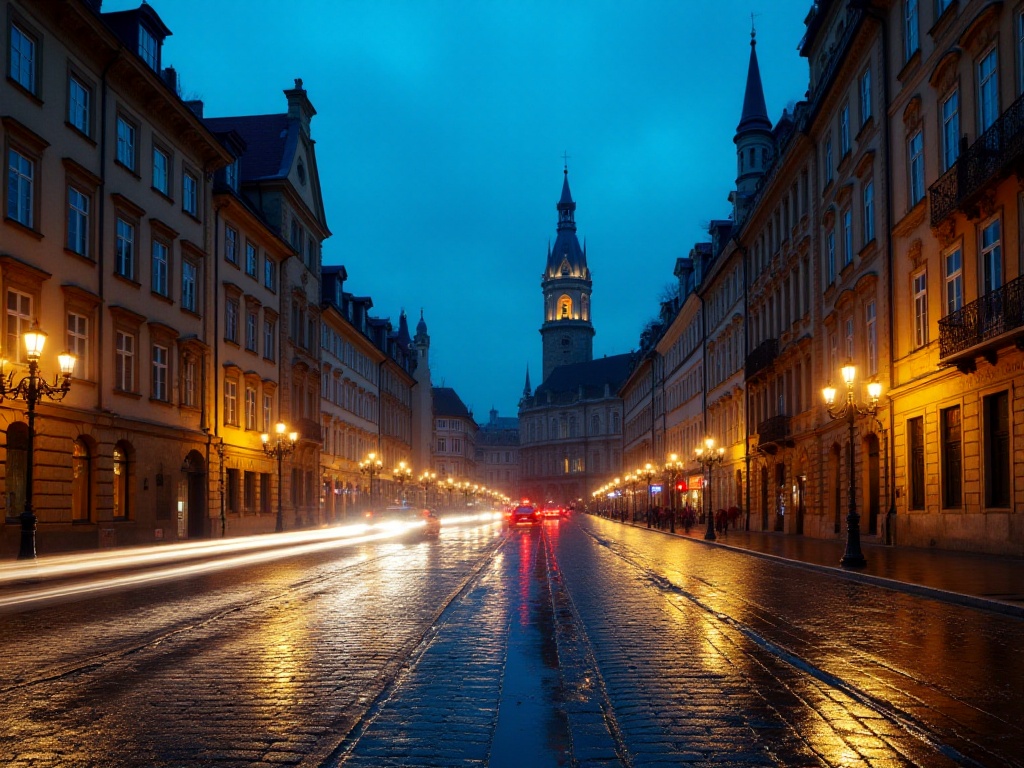
Last year, I took a photography trip across Europe, shooting from London all the way to Santorini, passing through dozens of countries and covering over 4,000 miles. This journey gave me a deeper understanding of travel photography.
Shooting in different environments requires quick adaptation and adjustment. For example, in Venice, you might be photographing architecture at St. Mark's Square in the morning, capturing life in the alleys at noon, and shooting sunsets by the river in the evening. Each scene requires different equipment and techniques. I gradually learned to quickly switch shooting modes and parameters based on the scene.
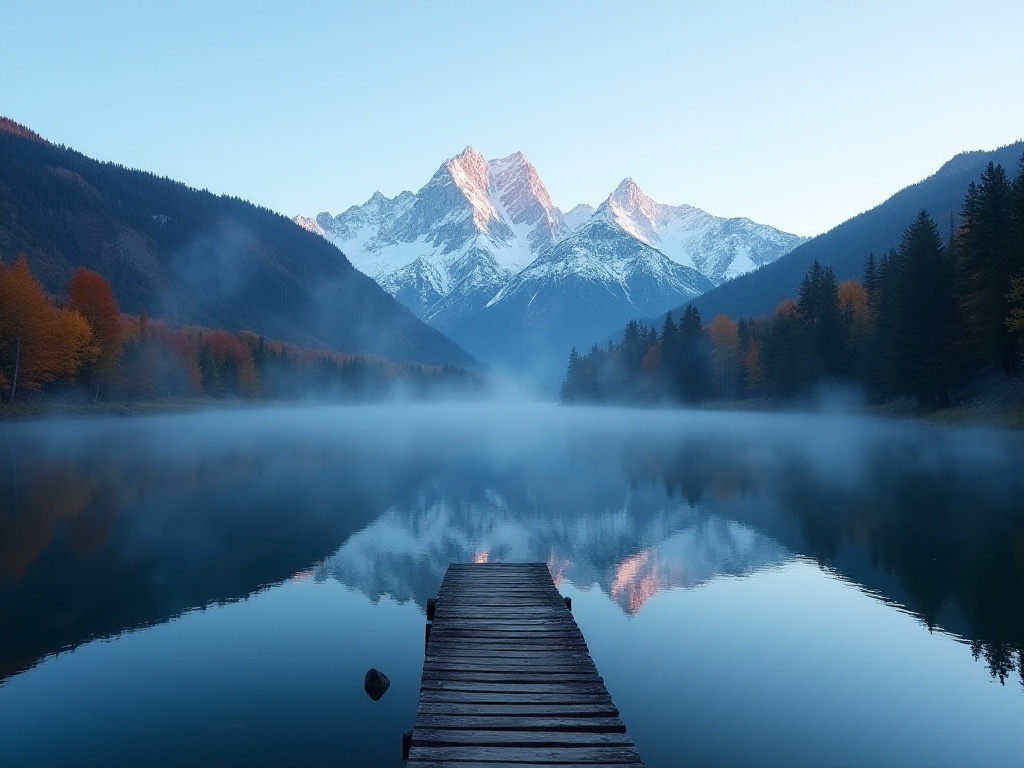
Travel photography is truly an interesting pursuit. It not only records beautiful moments but also cultivates your aesthetic ability and observational skills. Most importantly, you need to practice more and not be afraid of failure. Everyone starts as a beginner, and through continuous trial and summary, you can definitely create work that satisfies you.
Remember, the most important thing in travel photography isn't how good your equipment is or how strong your technique is, but rather how you feel with your heart and express through your lens. Let's continue forward together on the path of travel photography, creating more excellent works.
 Previous
