Recently, I've received many messages asking how to capture stunning photos while traveling. As a blogger passionate about travel photography, I'd like to share some of my tips. Honestly, taking eye-catching photos doesn't require expensive equipment worth tens of thousands - the key is mastering some basic but super practical techniques.
Do you ever envy those people who seem to effortlessly take professional-looking photos? Actually, they all started as beginners too. Like me - at first, my photos were all over the place, with crooked compositions and poor exposure. But through continuous learning and practice, I can now create work I'm proud of!
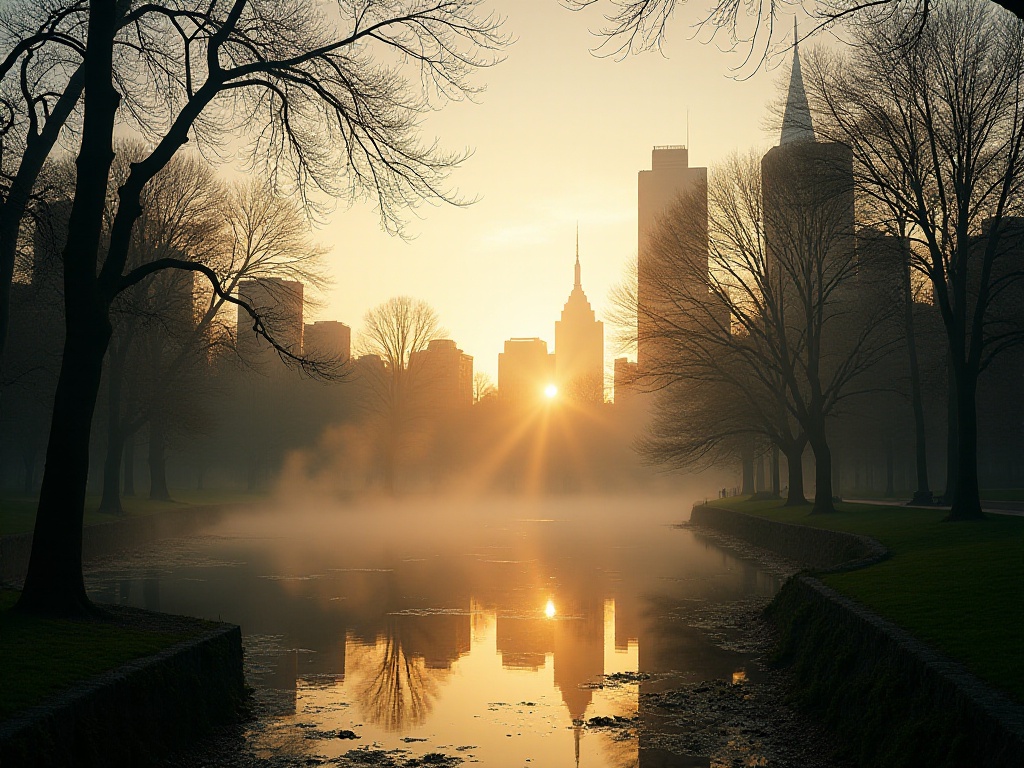
My first photography experience at New York's Central Park was incredibly awkward! It was so crowded I could barely move, let alone find a clear shooting angle. Later I discovered that with just a neutral density filter, you could make crowds "disappear" - it's like an invisibility cloak for photographers!
Speaking of neutral density (ND) filters, they're like sunglasses for your camera. The amazing thing about this tool is that it allows you to achieve long exposure effects even in broad daylight. Imagine when shooting at popular tourist spots, fast-moving visitors get "erased," leaving behind an empty, serene scene - isn't that magical?
For example, when I photographed the Chain Bridge in Budapest last year, I used this technique. Despite the crowds that day, using an ND filter with long exposure resulted in a photo showing only the golden bridge and the quietly flowing Danube - the atmosphere was perfect!
Have you ever encountered this situation: no matter how you adjust your landscape shots, either the sky is overexposed to white or the ground is too dark to see details? This is where graduated ND filters shine! Their clever design features a darker upper portion to control sky highlights and a lighter lower portion to preserve ground details, solving two problems at once - it's truly a landscape photography essential!
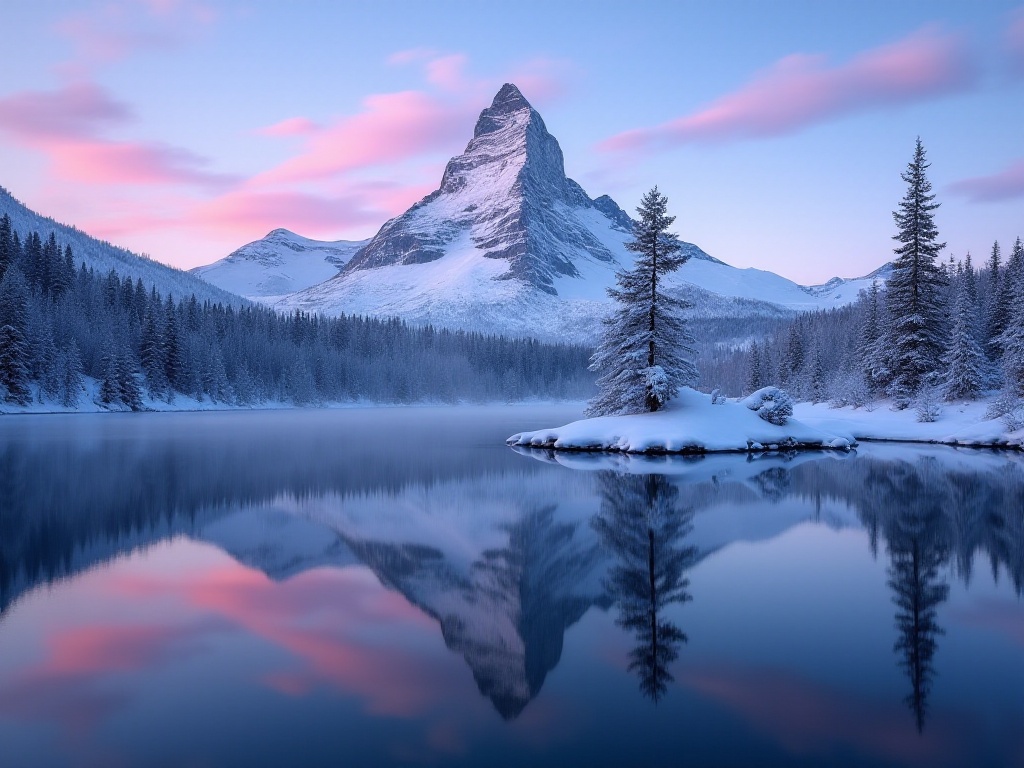
When shooting the Northern Lights in Iceland, I relied heavily on graduated ND filters. They helped me perfectly balance the brilliant aurora in the sky with the snowy landscape below. However, I must remind everyone to choose filters from reputable manufacturers, as poor quality filters can affect image quality and prove counterproductive.
Besides ND filters, polarizing filters are also essential for travel photography. They enhance the blue of the sky, eliminate reflections from water and glass, making photos more transparent and clear. When shooting canals in Venice or seascapes in the Maldives, polarizing filters are absolute treasures!
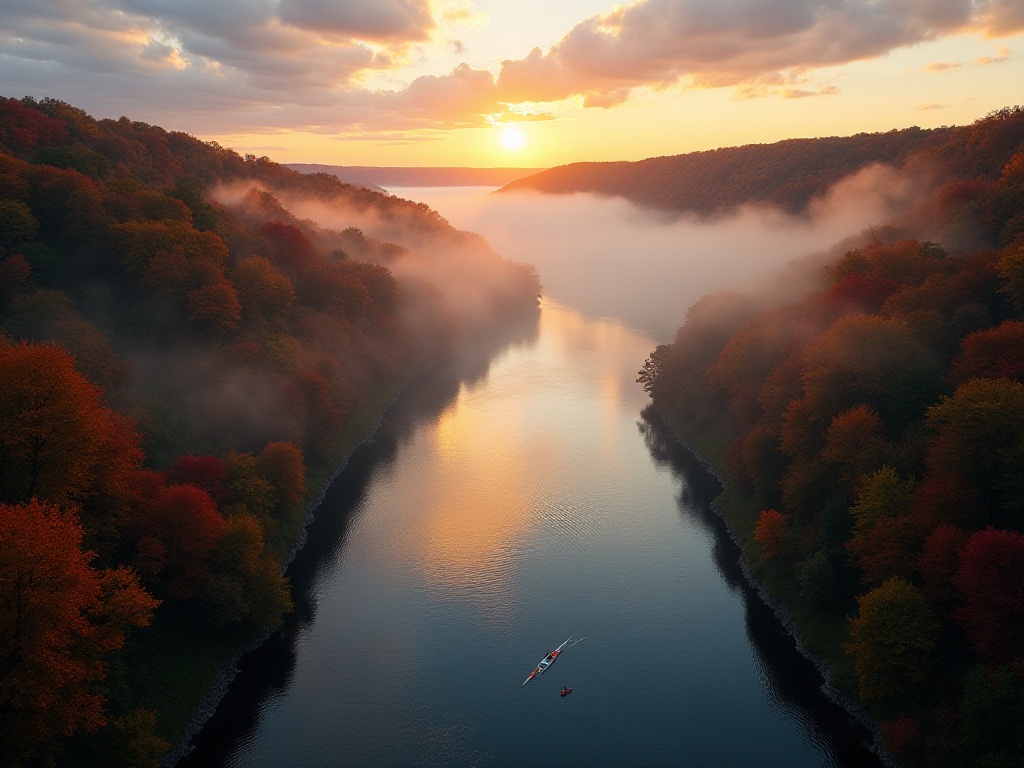
When it comes to photography, we must discuss the eternal theme of light. Light is nature's best gift to photographers - mastering light is mastering the soul of photography.
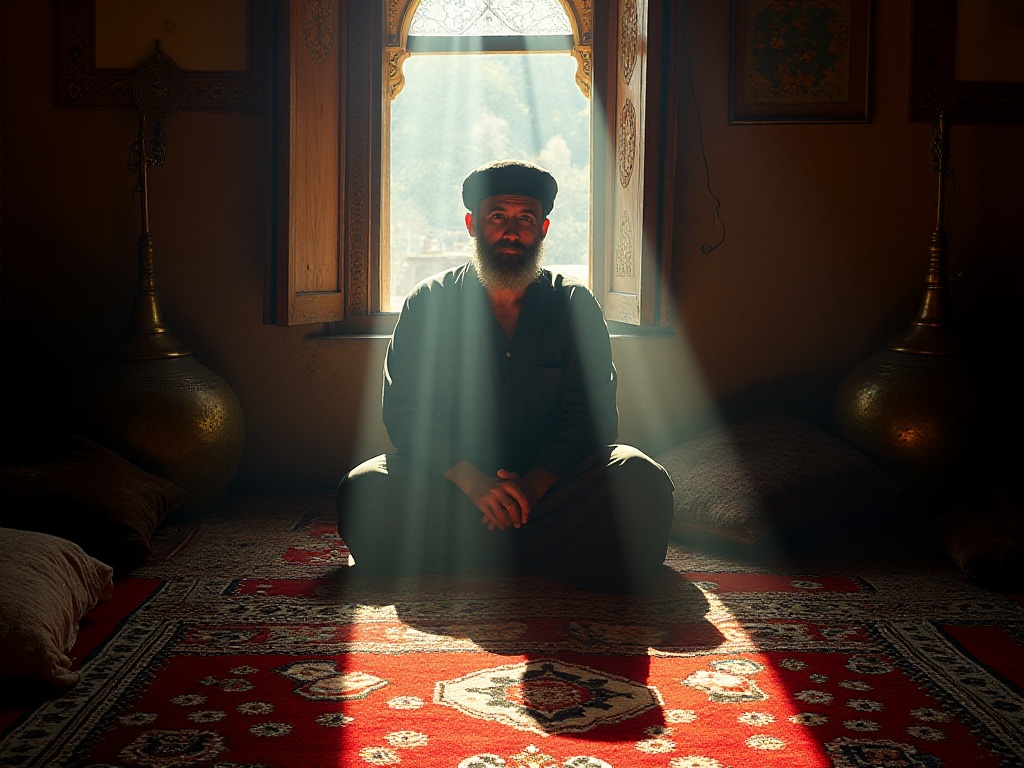
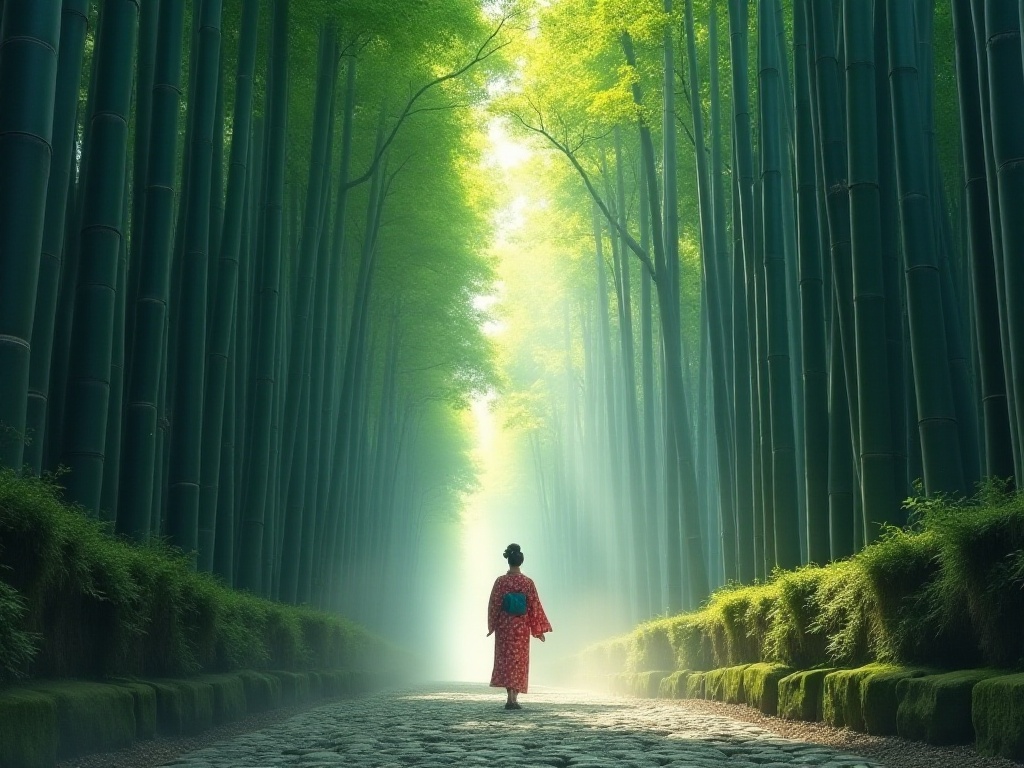
Remember that morning at the Arashiyama Bamboo Grove in Japan? When the first rays of sunlight pierced through the dense bamboo forest, casting dappled shadows on the ground, that dreamlike feeling was breathtaking! To capture such effects, timing is crucial. I usually scout locations a day ahead to see where the sun rises, then position myself at the best spot early the next morning.
Regarding shooting times, here's my personal experience: morning side light is best for capturing texture, especially in architecture and street scenes; golden hour light is perfect for portraits, giving subjects a warm glow. Many photography beginners think bright sunlight is necessary for good photos, but that's not true! Cloudy days are actually great for shooting, as diffused light creates softer images without harsh highlights and shadows.
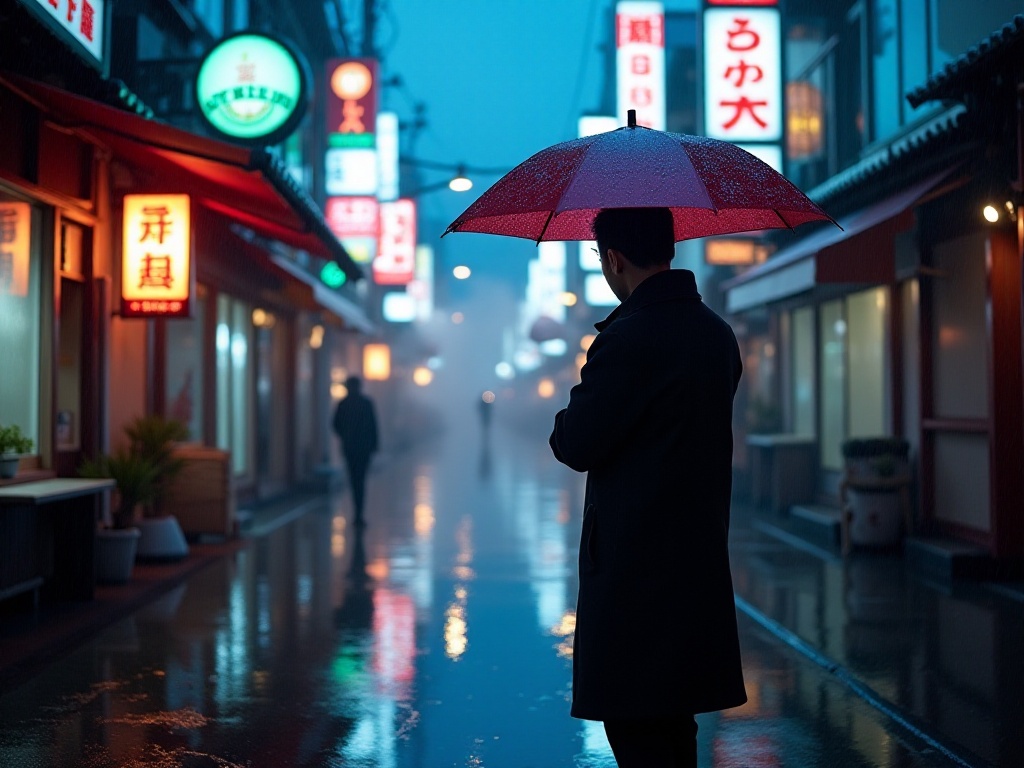
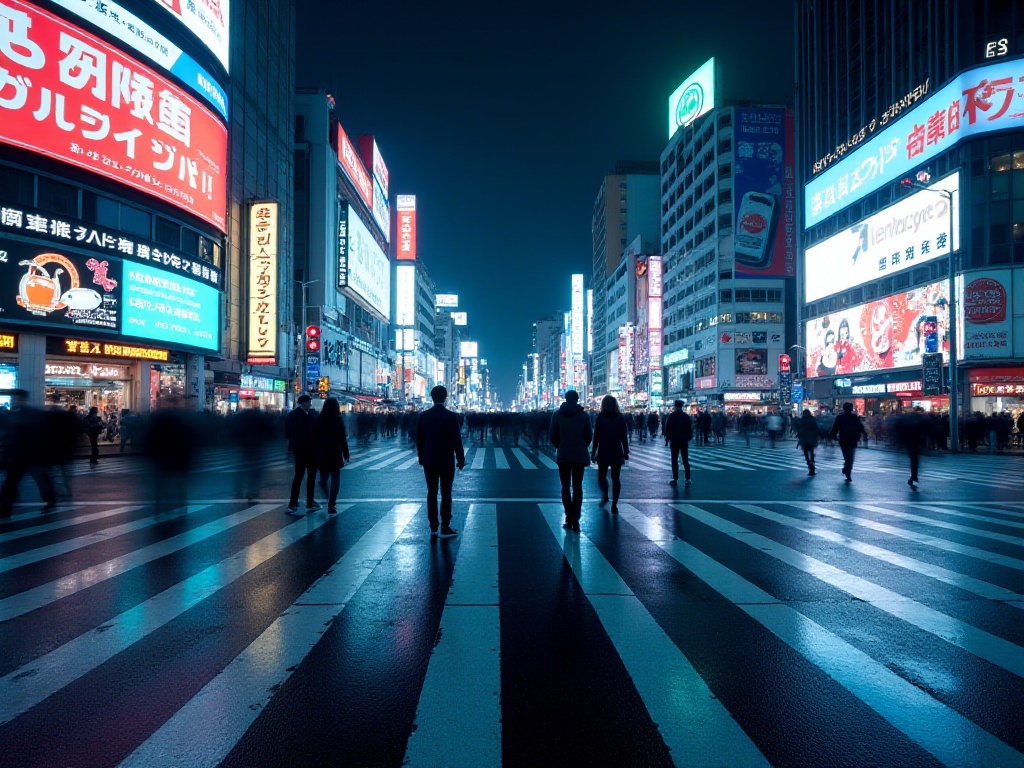
Rainy days are full of photographic opportunities! Post-rain cities show completely different faces: wet streets reflect neon lights, raindrops create unique light patterns on glass - these are all excellent creative materials. When shooting rainy street scenes in Tokyo's Shibuya, I specifically chose nighttime to capture neon lights creating brilliant reflections on the wet ground - the effect was amazing!
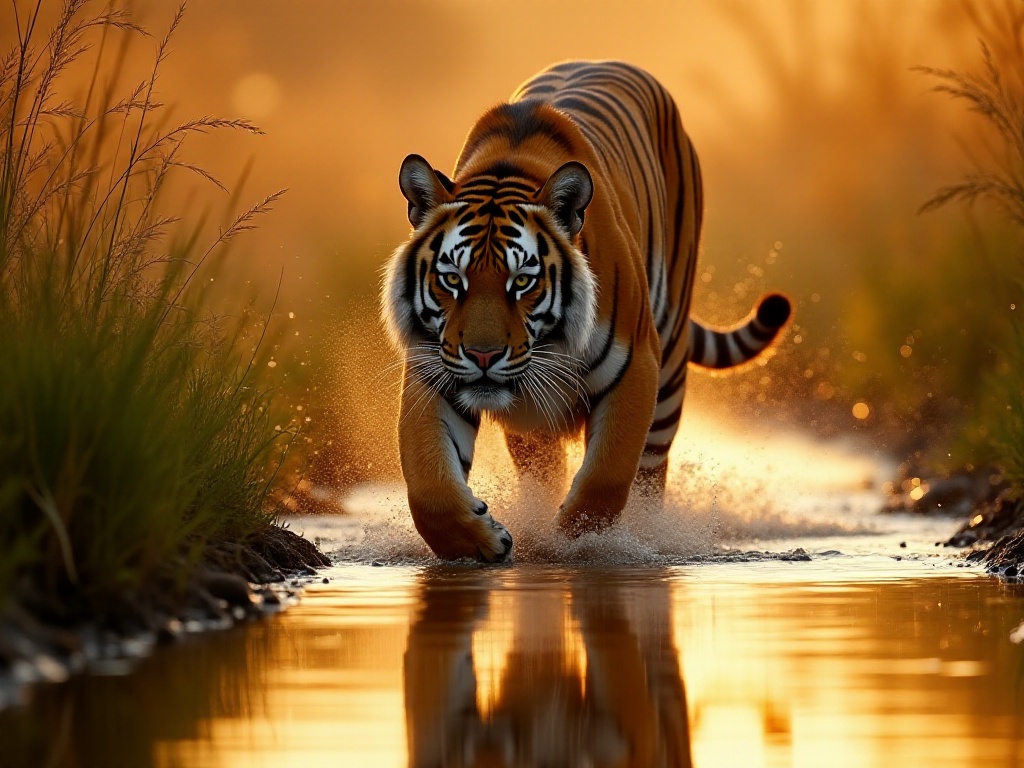
Another important lighting technique is learning to use backlighting. Many people find backlighting difficult to handle, but with the right approach, backlit photos can be more artistic. For instance, you can use backlighting to create silhouettes in portraits; in landscapes, backlighting can emphasize sky layering. I often use this technique when photographing hot air balloons in Cappadocia, Turkey, creating beautiful silhouettes against the rising sun.
Speaking of post-processing, it's a topic that many photography enthusiasts have a love-hate relationship with. Many friends ask me: how should I edit to make photos look good? Honestly, post-processing is like applying makeup to photos - the key is highlighting strengths rather than completely transforming the image.
I mainly use Lightroom for post-processing now - its interface is super friendly and parameter adjustments are intuitive. Though I hit many pitfalls when I first started, sometimes editing photos until they looked like "oil paintings," haha! Now my post-processing style tends toward natural, focusing on several key aspects:
First is white balance adjustment, which determines the overall tone of the photo. For photos taken on sunny days, I slightly lower the color temperature to make the image feel fresher; for cloudy day photos, I increase the color temperature a bit to add warmth.
Next is exposure and contrast control. Often, camera-recorded images may be too dark or bright, requiring appropriate post-processing adjustments. However, moderation is key - excessive adjustment can lead to image distortion. I usually adjust overall exposure first, then use highlight and shadow sliders to fine-tune details.
Then comes color adjustment. This really tests your aesthetic sense - I recommend studying works by excellent photographers to develop your eye. I personally prefer finding a balance between saturation and naturalness, making photos visually impactful without appearing overdone.
Local adjustments are also crucial in post-processing. Sometimes certain areas need emphasis or darkening - this is where local adjustment tools come in. In landscape photography, I often use gradient tools to adjust sky brightness; in portrait photography, I use radial tools to emphasize the subject.
Landscape photography is both fascinating and challenging. Many think it's just about pointing and shooting at scenic spots, but it's far more complex. Capturing touching landscape photos requires patience, focus, and keen observation of light.
Take my favorite landscape photographer Trey Ratcliff - his works touch people's hearts not just because he chooses beautiful locations, but more importantly because of his mastery of light and timing. Sometimes he'll wait at the same spot for days to catch perfect lighting.
Composition is crucial in landscape photography. When I first shot at Yosemite, I made the classic rookie mistake: cramming too much into the frame, trying to capture everything. Later I realized that negative space can make photos more artistic. Now I love using foreground elements to frame distant landscapes, adding depth to photos.
Different natural landscapes require different shooting techniques. For waterfalls, I use slower shutter speeds to create silky water effects; for starry skies, I need large apertures and high ISO to capture faint starlight. My experience shooting the Northern Lights in Iceland was unforgettable - that night it was -20°C, but I stayed outdoors with my camera for 4 hours waiting for the perfect aurora moment!
Urban landscape photography is also interesting. Unlike natural landscapes, urban photography emphasizes angle selection and timing. I particularly enjoy shooting city skylines during blue hour, when sky and city lights achieve perfect balance. Remember that evening shooting at Shanghai's Bund? I specifically chose post-rain weather, capturing Pudong's skyscrapers reflecting in the wet ground - the effect was incredible!
Speaking of documentary photography, I must mention my idol Steve McCurry. His work taught me that good street photography isn't just about pressing the shutter - it's about discovering and recording people's stories with heart. Every time I see his famous "Afghan Girl," I'm deeply moved by those story-filled eyes.
At Marrakech's market, I tried observing and shooting in McCurry's style. A bargaining scene, an artisan focused on work, a playing child - these seemingly ordinary moments contain unique cultural essence. However, note that in documentary photography, we must respect local people's wishes - if someone clearly indicates they don't want to be photographed, we must respect their choice.
Perhaps the hardest part of documentary photography is naturally blending into the environment. At first, I was always nervous, worried about disturbing others. Later I learned to use smiles to break the ice, sometimes even chatting with subjects to learn their stories. Photos taken this way often have more warmth and impact.
My experience shooting in Varanasi, India, left a particularly deep impression. Countless vivid scenes unfold daily along the Ganges: devotees bathing at dawn, women washing clothes, monks chanting... I spent a whole week there, staying by the river every morning to capture these most authentic life moments.
If you ask me about recommended photography destinations, I absolutely recommend Japan's Arashiyama and Morocco's Marrakech. These places seem made for photography!
Arashiyama's bamboo forest is breathtaking in all seasons. In spring, tender green bamboo leaves show vibrant life; in summer, deep green bamboo provides a cooling sense; autumn's gold seems to gild the entire forest; in winter, snow makes the elegant bamboo forest indescribably beautiful. Best of all, the light changes here are particularly rich - different times bring different feelings.
My favorite shooting time is early morning when there are fewer tourists and morning light through bamboo creates a dreamlike effect. However, remember that for less crowded scenes, you really need to wake up early. I usually arrive at 4 AM to find good positions and wait for sunrise.
Marrakech's Medina old town offers a completely different style. It's like a natural photo studio! Red walls appear particularly warm in sunlight, the blue sky looks pure as if washed, and the colorful markets make you want to stay forever.
When shooting in Marrakech, patience is key. Sometimes you need to wait long at one spot for perfect light and composition. My biggest lesson here was learning patience, as often the most spectacular moments appear unexpectedly.
Besides these two places, I highly recommend Italy's Cinque Terre. These five fishing villages nestled against mountains and sea, with colorful houses stacked like blocks on cliffs, look like God spilled a paint palette! Best shooting time is around sunset when soft light creates super dreamy effects.
Iceland is another photographer's paradise. It has the most pristine natural landscapes: magnificent waterfalls, mysterious black sand beaches, dreamy Northern Lights... Each location offers completely different photo opportunities. However, note that Iceland's weather is unpredictable - make sure to protect yourself and your equipment.

Photography is truly an art requiring constant practice. Through this article's sharing, I hope to provide some inspiration. Remember, what matters isn't your camera but how you discover and record beauty with heart.
Everyone understands beauty differently, so don't worry too much about others' opinions. Most important is enjoying the shooting process and expressing your feelings about the world in your own way.
On your next trip, try these techniques. Perhaps you'll capture photos that amaze your friends, but more importantly, these photos will become your precious memories, recording what you've seen and felt.
Have you decided where to shoot next? Looking forward to seeing your photography stories in the comments!
 Previous

