The feeling of picking up a camera for the first time is truly unforgettable! When seeing beautiful scenery, you just want to press the shutter immediately and capture everything before your eyes in the camera. I've been involved with photography since college, for over ten years now. Along the way, from a complete beginner to now being able to create decent work, I've certainly gone through a lot of exploration and experimentation. Today I'd like to share my experiences with you, hoping to help you avoid some detours on your journey in travel photography.
Speaking of my initial photography experience, I remember it very clearly. I had just started college and found my roommate's camera particularly fascinating. Although I couldn't tell aperture from shutter speed back then, pressing the shutter button felt incredibly exciting. Every time I went out, I wanted to point the camera at everything I saw and shoot frantically, only to find I'd taken a bunch of aesthetically lacking photos when I got back – it's quite amusing to think about now.
Travel photography isn't just about going out with a camera and shooting randomly. Its history actually goes way back to the 19th century. Just imagine, in that era, photographers had to carry heavy wooden cameras, tripods, and glass plates everywhere. They crossed deserts and climbed mountains just to capture scenes people had never seen before. Taking a single photo was a major undertaking then, unlike now when we can just pull out our phones and shoot.
The development of modern travel photography has been remarkable. From film cameras to digital cameras, from DSLRs to mirrorless cameras, and even to today's phone photography, technological progress has made photography increasingly accessible. However, good equipment alone isn't enough. I've seen many people who spent big money on top-tier gear but took photos inferior to those taken with phones.
This reminds me of what a photography mentor once said: "True photography isn't about what camera you use, but how you observe the world." Indeed, a good travel photography work requires unique perspective and profound skill, not just reliance on equipment.
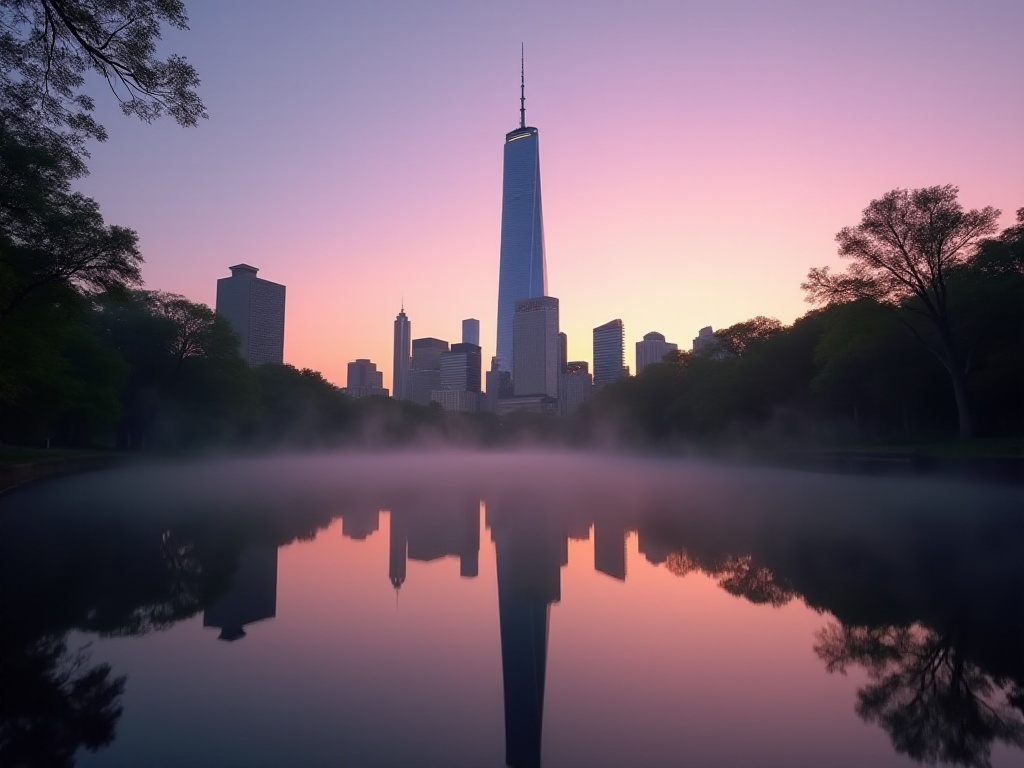
Travel photography is a truly fascinating field that encompasses many different directions. For example, landscape photography, like master Trey Ratcliff's work. He excels at using HDR technology to capture landscapes, revealing nature's most spectacular aspects. His works often feature richly layered clouds, stunning sunrises and sunsets, and even magnificent scenes under starlit skies.
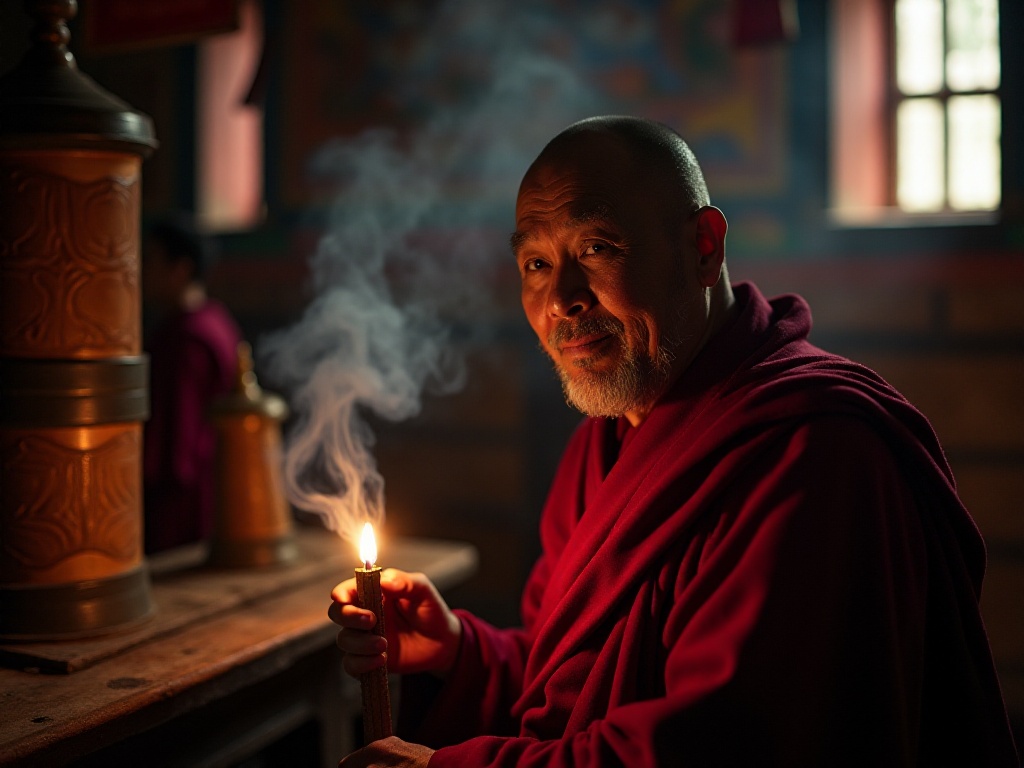
When it comes to humanitarian photography, Jimmy Nelson is an excellent representative. He travels worldwide, specifically photographing indigenous peoples' lives. His works aren't just simple portraits but tell stories about traditional cultures and human nature through the lens. I remember seeing his series of Tibetan lama photographs, with an atmosphere of solemnity that's unforgettable.
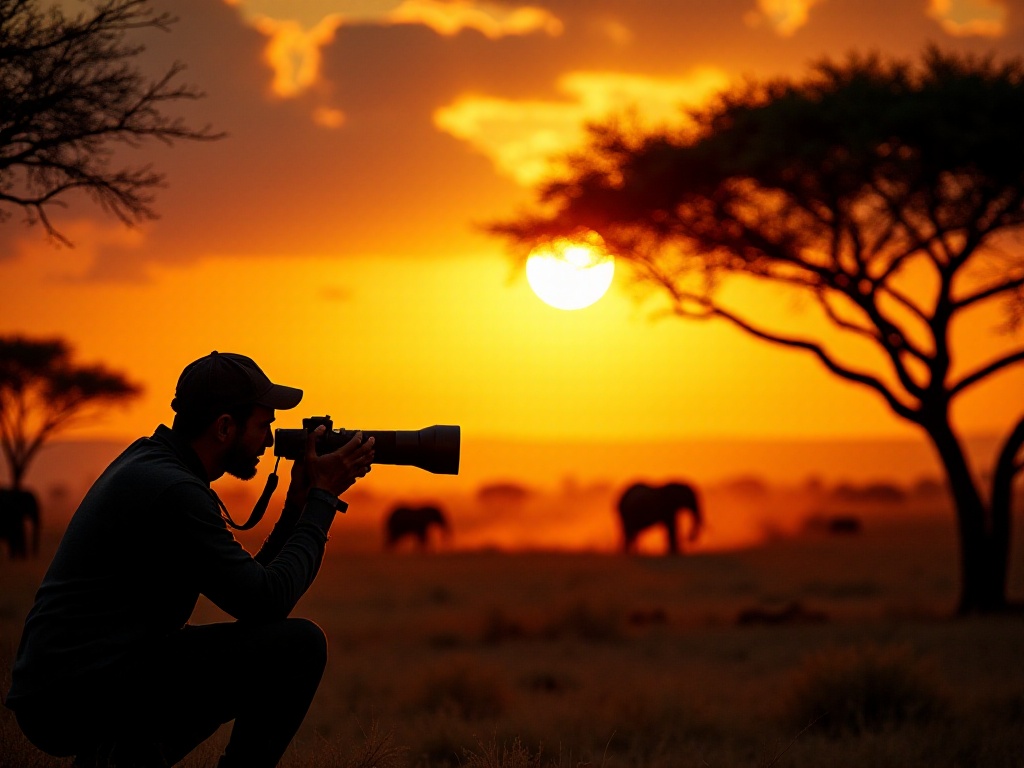
Wildlife photography is also a particularly fascinating branch of travel photography. Photographers like Ami Vitale can spend days waiting in the wild for that perfect moment. Her panda photo series not only shows these adorable creatures' daily lives but also helps the world understand the importance of panda conservation work.
Then there's street photography, where Steve McCurry is absolutely the benchmark. His most famous work "Afghan Girl" is surely familiar to everyone. But he's actually taken many works showing local customs from various places. He always manages to capture the most touching moments in the most ordinary streets, giving everyday life a cinematic quality.
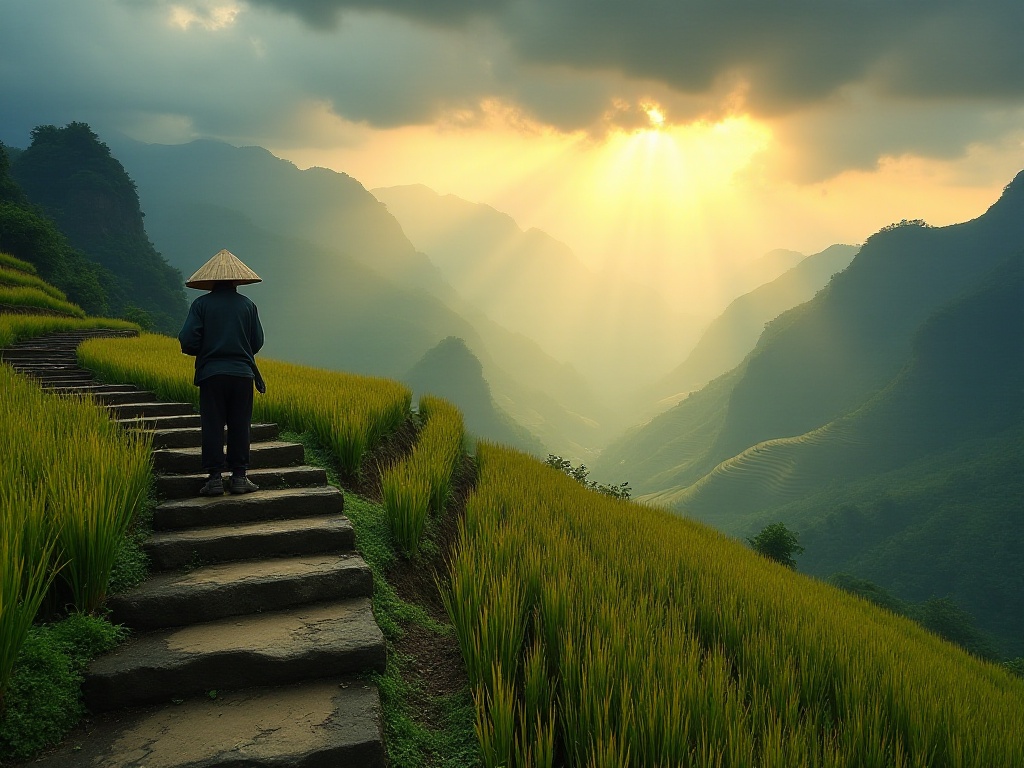
Talking about buying equipment, this is quite a perplexing topic. Friends often ask me: "Should I buy full-frame or APS-C? Should I get a large aperture prime lens?" Actually, these aren't the most important questions. What's important is choosing based on your needs and budget.
I currently use a Sony A7M3 with a 24-70mm F2.8 standard zoom lens. But honestly, I wasn't so particular at first. My first camera was a Canon entry-level DSLR with an 18-55mm kit lens, costing less than 5000 yuan. Though the image quality might not match my current equipment, I still took plenty of photos I was satisfied with back then.
Regarding lens choice, I suggest beginners start with a zoom lens. Focal lengths like 24-70mm or 24-105mm can basically cover daily shooting needs. After you have a clearer understanding of what type of photos you want to take, you can add lenses specifically for those purposes.
Camera bags are also important equipment. I once chose the wrong bag and my shoulders would ache after shooting for a short while. Later I switched to a professional photography backpack that's not only shock-proof and waterproof but also distributes weight more evenly, making it very comfortable to carry.
Tripods are almost essential for landscape photography. But you don't necessarily need to buy the most expensive carbon fiber tripod. I use an aluminum tripod that cost just over 1000 yuan – though it's a bit heavy, its stability and value for money are quite good.
Speaking of photography techniques, the most basic are of course aperture, shutter speed, and ISO. But besides these basics, filter usage techniques are also particularly important. For example, when shooting waterfalls or seaside scenes, if you want to capture that silk-like smooth water effect, ND filters come in handy.
When I shoot in New York's Central Park, I often use ND filters. I remember once in the evening, I used a 10-stop ND filter and slowed the shutter speed to 30 seconds. This turned passing tourists into blurry shadows, highlighting the park's tranquility.
Polarizing filters are also great. They can increase the blue saturation of the sky and eliminate reflections from water surfaces and glass. I particularly relied on polarizing filters when shooting in Venice – they helped me capture crystal-clear canal water and exceptionally transparent blue skies.
Composition techniques are also crucial. The rule of thirds might be the most basic composition rule, but there are many other techniques to try, like leading lines, framing, and symmetrical composition. I particularly like using foreground elements to add depth to photos, such as using a flower, rock, or arch to frame distant scenery.
The use of light is also a major subject. Many people think good weather is best for photography, but overcast and rainy days can also produce very atmospheric photos. For example, after rain, puddles can be used to shoot reflections; overcast days' diffused light is particularly suitable for portraits, not creating overly harsh shadows.
Just studying tutorials is far from enough – practical experience is the fastest way to improve photography skills. I suggest participating in photography groups or going shooting with other photography enthusiasts. In a group, you can not only learn others' shooting techniques but also exchange experiences.
I particularly remember my first time joining a photography group. It was a sunrise shoot, having to wake up at 3 AM and climb to the mountaintop to wait for sunrise. Though it was tough, when the sun emerged from the clouds, all the fatigue was worth it. The instructor also taught me how to use morning light to shoot silhouettes and how to adjust white balance to capture the golden rays of sunrise.
Later I participated in many more photography groups, visiting various sites large and small. Each trip taught me something new, like how to find unique angles in crowded tourist spots, how to protect equipment in bad weather, how to communicate with locals for shooting permission, and so on.
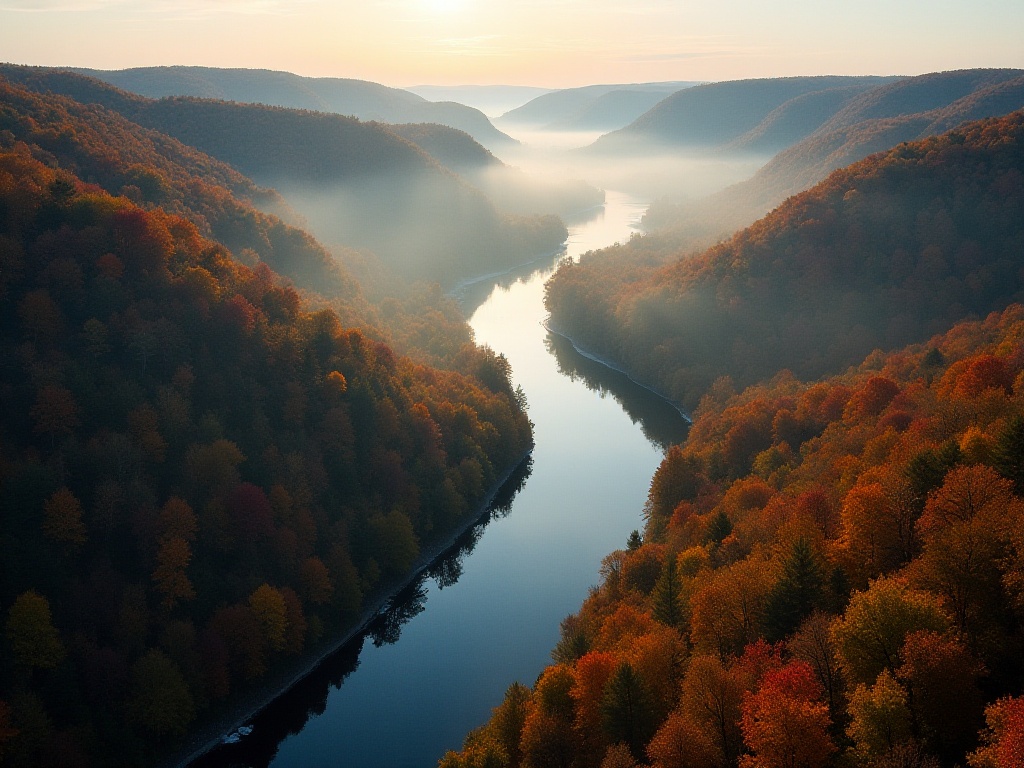
Choosing shooting locations is really an art. Many people like to follow trends and go to popular spots, but actually every place has its unique charm – the key is discovering it with heart.
Take New York State for example – besides the well-known Manhattan skyline, there are many excellent shooting locations. Like Delaware Gap, where morning mist combined with golden sunlight creates a cinematic feel. Croton Dam is my favorite place for long exposures, especially after rain when the waterfall is particularly full.
Although Oswegatchie Park isn't as famous, its nature trails and riverside scenery are worth shooting. In autumn, the whole park turns golden-red with maple leaves, making every angle photogenic.
Choosing shooting time is also important. Many places have optimal shooting times, like the golden light during sunrise and sunset, or the blue hour for city night scenes. I check sunrise and sunset times in advance, look at weather forecasts, and even use specialized photography planning apps to determine shooting locations.
Post-processing is indeed an important part of photography, but don't expect it to save poorly composed or incorrectly exposed photos. My advice is to master basic shooting techniques first, then study post-processing.
For post-processing software, I mainly use Lightroom and Photoshop. Lightroom is suitable for overall color grading and basic adjustments like exposure, contrast, and color temperature. Photoshop is better for local adjustments, like removing unwanted elements or doing more complex compositing.
Regarding color grading, I suggest practicing basic adjustments first, like exposure, contrast, and highlight/shadow processing. After mastering these basics, try more complex color grading techniques. Don't immediately pursue trendy filter effects with excessive processing – that often looks unnatural.
My current post-processing workflow is typically like this: First do basic adjustments in Lightroom, including cropping, correcting lens distortion, adjusting exposure and white balance. Then adjust colors based on the photo's style, maybe adding some grain for a film-like quality. Only if more detailed retouching is needed do I process it in Photoshop.
After so many years of photography experience, I increasingly feel that travel photography isn't just about taking pictures. It's a way of recording life and expressing emotions, an attitude toward observing the world.
Sometimes, a photo's value isn't in its technical perfection but in the moment and emotion it captures. Like the series I shot in Tibet – though perhaps not technically perfect, every time I look at them I remember the feelings of that moment: the crisp highland air, fluttering prayer flags, devout pilgrims.
I hope sharing this article brings you some inspiration on your travel photography journey. Remember, true photography masters aren't made by the most expensive equipment but by their sensitivity to and ability to capture beauty. Let's continue exploring the world of travel photography together and create our own outstanding works!
The photography journey has no end point – as long as you're willing to look with your heart and shoot with feeling, you can definitely create works that touch people's hearts. Looking forward to meeting a better you on the photography path!
 Previous
