Recently, I've been seeing many professional photographers' landscape photos - every casual shot is breathtaking, making me incredibly envious! Whenever I travel, my photos either have monotonous composition or are overexposed, nowhere near comparable to others'. I've actually been struggling in this field for several years, so today I'd like to share my experience, hoping to help you avoid some pitfalls.
Really, when I first started, I made all kinds of mistakes. I remember once going to Zhangjiajie to photograph mountains, but all my photos came out hazy with no sense of depth. After continuous learning and practice, I finally found some techniques. Looking back, if someone had given me some guidance early on, I wouldn't have taken so many detours.
When it comes to photography equipment, it's truly something every beginner struggles with. I see many friends wanting to buy full-frame cameras right away, thinking higher-end equipment will automatically improve photo quality. But in reality, this is completely misconceived.
I have a photographer friend who used an entry-level Canon 200D for three years to shoot landscapes, getting tens of thousands of likes on social media. In contrast, another wealthy friend bought a Sony A7M4 with G Master lenses, yet their photos aren't even as good as smartphone shots. So equipment really isn't the decisive factor.
However, suitable equipment can make shooting more comfortable. I started with a Canon 77D, and although it's APS-C format, it was completely adequate. Later I gradually upgraded to a full-frame Canon R6, which did improve some details, like better noise control in night shots and richer shadow details.
For lenses, I most recommend wide-angle lenses. I remember my first trip to Tibet, carrying a 16-35mm F4 lens - it was an absolute scene killer. When shooting sunrise at Nam Co Lake, the vast lake surface, endless snow mountains, and gorgeous dawn all fit perfectly into the frame. Now this focal length has become my standard setup.
Besides wide-angle, I also carry a 24-70mm standard zoom. This focal length is incredibly versatile, good for both landscapes and cultural shots. Once at the Yuanyang Rice Terraces in Yunnan, with the terraces layered in the distance, I used the 70mm focal length to compress the space, creating a photo with strong depth.
Regarding tripods, many beginners find them troublesome and don't want to carry them. But I must say, many stunning landscape photos simply can't be taken without a tripod. For example, when shooting long exposures of waterfalls, starry skies, or when you need exposure bracketing in poor light, a tripod is essential. I now use a carbon fiber tripod - it's lightweight and quite stable.
Filters are also important accessories for landscape photography. The most basic are polarizing filters and graduated neutral density filters. Polarizing filters can eliminate reflections from water and glass surfaces, making images more transparent; graduated ND filters can balance brightness differences between sky and ground. I remember once shooting a sunset by the sea - without the graduated ND filter, the sky would have been completely overexposed.
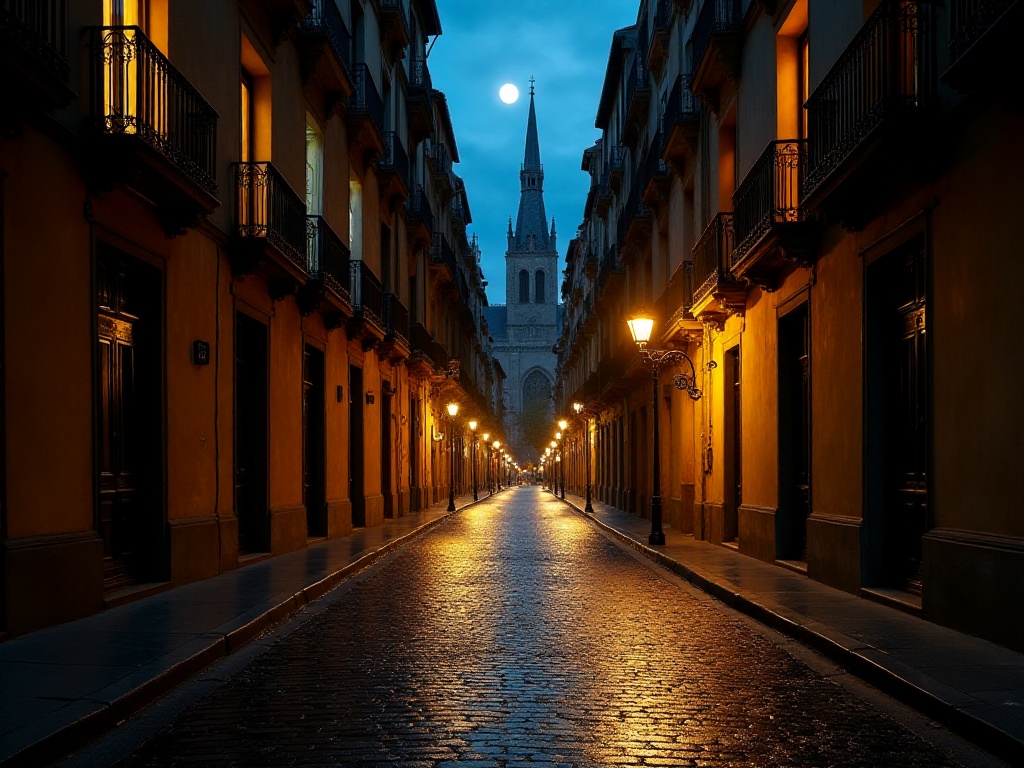
Composition is truly a topic we could discuss for a long time. Many people find composition difficult to master, but if you grasp a few basic principles, your photo composition can improve significantly.
Let's start with the rule of thirds, possibly the most basic but also most practical composition method. When shooting landscapes, I often turn on the camera's composition grid lines. For example, when shooting seascapes, I'll place the horizon on the lower third line, letting the sky occupy two-thirds of the frame to emphasize its grandeur. When shooting mountains, I'll place peaks on the left or right third lines to give the image more tension.
Using foreground is also particularly important. I think many landscape photos look flat because they lack foreground. I remember once shooting sunrise at Chaka Salt Lake in Qinghai - I deliberately crouched down to use the accumulated water on the salt lake as foreground, reflecting the distant mountains and dawn. The entire image immediately became more vibrant.
When composing, also pay attention to leading lines. A winding path or a river can serve as leading lines to guide viewers' eyes. When shooting at Kanas in Xinjiang, I used a stream as a leading line extending from the foreground to distant snow mountains, giving the image great depth.
Also, consider negative space in composition. Many people try to fill the frame completely, but appropriate negative space can make photos more artistic. Like when I shot the sea of clouds at Huangshan, I deliberately left large blank areas to let the changing clouds be more poetic.
Symmetrical composition is also a very useful technique. Especially when shooting water reflections, symmetrical composition can create strong visual impact. When I photographed the reflection of Leifeng Pagoda at West Lake, I used symmetrical composition, combined with morning mist atmosphere, creating a very poetic effect.
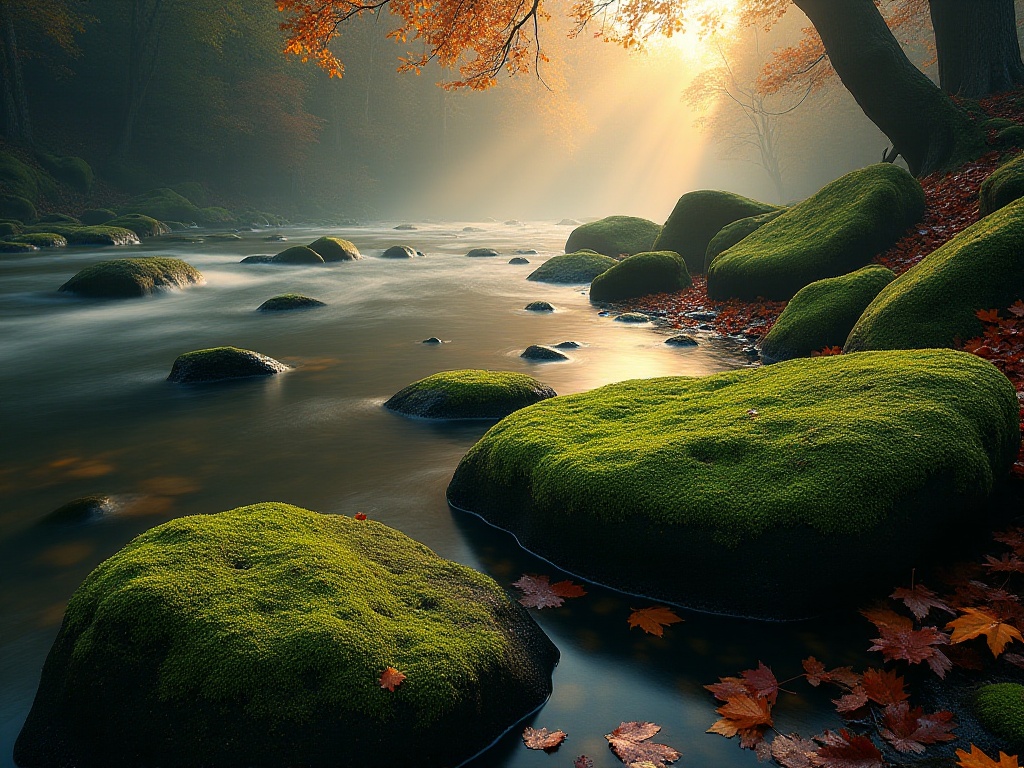
Speaking of light, it's truly the soul of landscape photography. Many people might think stronger sunlight is better, but actually, different light is suitable for different subjects.
Golden hour is really important. Now I basically time every shoot around this period. I remember once shooting sunrise at Moganshan, I started climbing to the peak at four in the morning. When the first rays of sunlight fell on the sea of clouds, that interplay of light and shadow was incredibly beautiful.
But it's not just golden hour that works. Cloudy days are actually suitable for shooting certain subjects. For example, when shooting the strange peaks at Wulingyuan, the diffused light on cloudy days actually makes image layers richer. Also for shooting waterfalls, cloudy days won't have overly strong highlights, making the image easier to control.
Backlighting is also a good choice. I particularly like shooting silhouettes at sunset, treating foreground objects as pure black outlines against gorgeous evening clouds, often creating very dramatic images.
Side lighting is also great for showing terrain undulations. When shooting grasslands at Kalajun in Xinjiang, I deliberately chose early morning side lighting, which outlined the grassland's undulations very three-dimensionally.
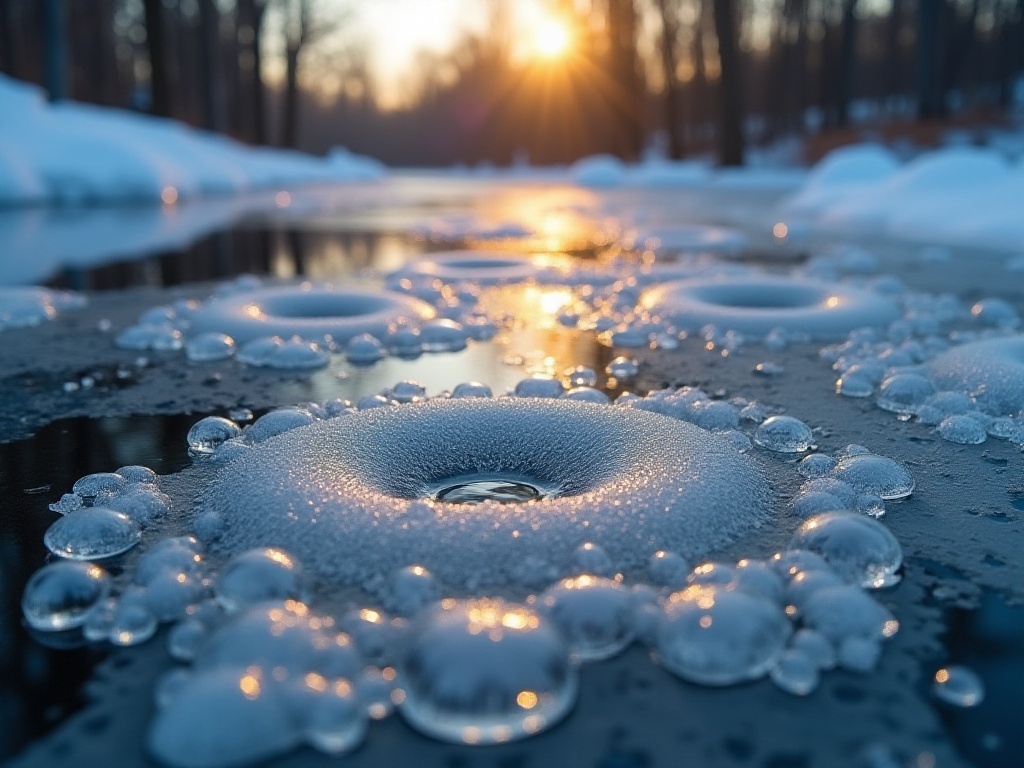
Post-processing is where many beginners make mistakes. Some exaggerated post-processing styles are popular online now, but I think keeping it natural is better.
My post-processing workflow is usually like this: First adjust basic parameters, including white balance, exposure, and contrast. This step mainly restores the real feeling of the shooting scene. For example, with photos shot in Tibet, I'll slightly increase color temperature to give snow mountains a warm tone, which better matches the feeling at the time.
Then comes color adjustment. I'll adjust saturation and hue based on scene characteristics. For example, when shooting autumn scenery, I'll appropriately increase yellow and red saturation to make autumn colors richer. But you must watch the degree - excessive adjustment looks fake.
Local adjustments are also important. I often use gradient tools to adjust sky brightness and radial tools to emphasize subjects. These are all convenient operations in post-processing software. But remember, the purpose of post-processing is to enhance photo expression, not change the photo's essence.
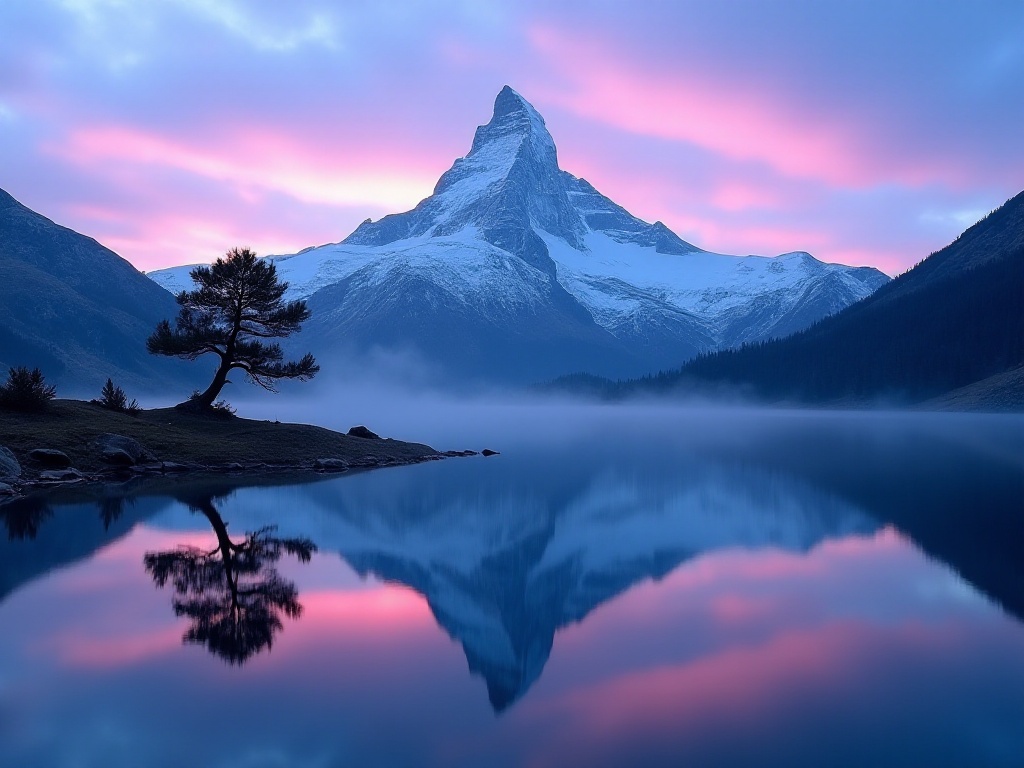
After all this theory, let's get to some practical experience. These are lessons learned from my own mistakes.
For shooting waterfalls, besides using slow shutter speeds, it's best to shoot on cloudy days or in shaded areas on sunny days. Strong sunlight causes water surface reflections that affect the silk effect. I usually use F11 or smaller aperture, combined with ND filters, to control shutter speed around 1 second.
For shooting starry skies, besides following the 600 rule, choose good shooting locations and times. Places far from city light pollution are best, and clear nights around new moon are optimal periods. I use a 14mm ultra-wide lens, maximum aperture, ISO between 3200-6400.
For shooting sunrise and sunset, definitely arrive at the location early. The most beautiful light often appears before the sun rises or just after it sets. I usually arrive an hour early, giving plenty of time to find viewpoints and adjust equipment.
For shooting foggy scenes, best choose early morning or after rain. Fog is thickest then, and light is soft. I use telephoto lenses to compress space, making fog layers stronger. In post-processing, appropriately increasing contrast can give fog more texture.
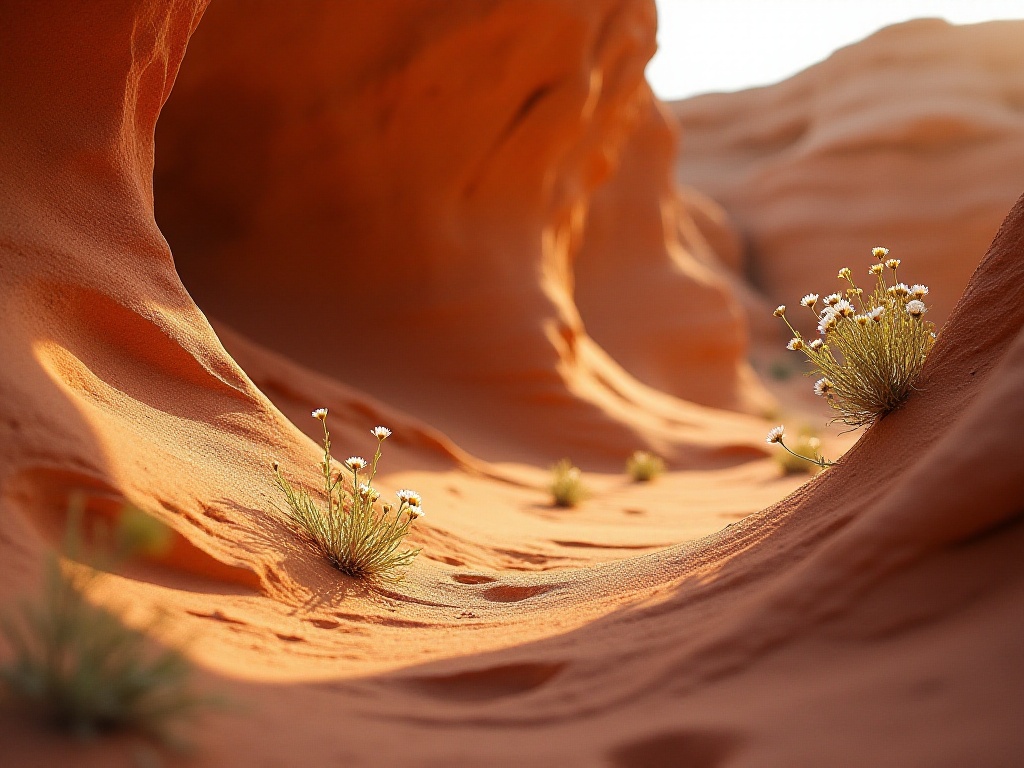
After these years of photography experience, I increasingly feel that while technique is important, more important is photographing with heart. Each shoot is a new experience, bringing different emotions.
I remember once waiting for sunrise by Qinghai Lake, setting up my tripod before dawn. As the sun slowly rose, the lake surface turned golden, distant snow mountains were draped in morning light - that moment's emotion is truly hard to describe in words.
So don't be too fixated on equipment and technique; what's important is developing your sensitivity to beauty. Often, simple composition combined with sincere emotion can create touching works.
Finally, I want to say photography really requires persistence. Your initial photos might not be satisfactory, but with continued learning and practice, everyone can find their own style.
Like now, every time I go shooting, I feel especially happy. Whether it's morning's rosy clouds or night's starry sky, they all bring me new emotions and gains. This might be photography's most fascinating aspect.
Hope these experiences can help you. Let's continue forward together on this path of pursuing beauty, creating more amazing works!
 Previous
